
Rich, tender and flaky buttermilk biscuits are a staple in the Southern U.S. Many families have recipes that have been passed down for generations. I may not be Southern, or even American, but I have managed to master the art of making this style of biscuit. In this post I will give you a few tips for how to achieve the perfect biscuit and then give you the recipe that I have come up with, which is an amalgamation of a few different recipes and tips.
I use buttermilk when I have it, but I’ve also used sour milk with success. I add 2 tsp of white vinegar for every cup of milk. The recipe says 12 biscuits but I ended up with 11 when I made them today!
Tip #1 – Cold ingredients are KEY!
I make sure everything, including the flour is cold when I mix my biscuits together. About 15 years ago, I came across the tip to freeze and grate the butter for biscuits and I’ve been doing that ever since. Freezing it ensures the butter is nice and cold and grating it makes for even pieces of butter spread throughout the dough. After I mix the shortening, butter and flour mixture, I freeze the mixture for 10-15 minutes to ensure everything is cold before adding the chilled buttermilk.
Tip #2 – Laminate your dough
Laminating the dough refers to rolling and folding the dough a couple of times, to create layers of butter. If you saw my Blueberry Scone recipe, my husband used that technique. Most biscuit recipes recommend handling the biscuit dough as little as possible. That was my approach until a few months ago. While my biscuits were tender and had a good texture, they didn’t have nearly the flaky layers that they got when I laminated the dough. It takes an extra 3-4 minutes of work and you can certainly skip this step, but the result is worth it.
Tip #3 – Use a sharp metal cutter to cut out your biscuits
While you can certainly use a glass, if it is not sharp, you can end up sealing the sides of your biscuits, which will inhibit the rise during baking.
Tip #4 – Let your biscuits rest in the fridge for 30 minutes after you cut them
Resting your cut biscuits in the fridge for 30 minutes before cooking them ensures the dough is again completely cold and also gives the gluten a chance to relax, ensuring a softer biscuit.
Tip #5 – Cook the biscuits in a preheated cast iron griddle or skillet
Cast iron retains an even heat and will give an nice crispy bottom to your biscuit. Some recipes recommend brushing melted butter on the pan, but I don’t because butter burns at the temperature that you need for cooking biscuits. I also prefer to use a flat cast iron griddle to a skillet because I don’t like to burn my fingers as I put the biscuits into a hot skillet!
Tip #6 – Have the biscuits touching while they bake
When your biscuits touch, they act as support structures for each other, making for a better rise.

Rich and Flaky Buttermilk Biscuits
These buttermilk biscuits are rich and tender with loads of buttery flakes! The key to achieving perfectly flaky biscuits is to use very cold ingredients, grate your butter and laminate your dough. While that sounds like a lot, it’s actually very easy!Ingredients
Instructions
- In a large bowl, whisk together flour, baking powder, baking soda, salt and sugar.
- With your fingers, work the lard or shortening into the flour until you have pieces that are no bigger than the size of a pea. Place you mixture in the freezer while you prepare your butter.
- Using the large holes of a box grater, grate the butter into a small bowl.
- Gently stir the butter into the flour mixture with a fork then place in the freezer again for 10 minutes.
- Spray the counter with vegetable oil spray and then lightly coat with flour. This will help to keep your dough from sticking when you roll it out.
- After flour mixture has chilled, pour 1 cup + 2 Tbsp of buttermilk over the mixture and stir with a fork to form a ball with no dry bits of flour, adding more milk as needed. Save any leftover milk to brush over the tops of your biscuits before baking.
- Transfer dough mixture to the floured counter and bring together with hands to form a cohesive ball.
- Roll to a roughly 12×9 inch (30x23cm) rectangle. Then fold into thirds like a business letter, then again in half to form a square. A bench scraper is useful for this.
- Repeat the previous rolling and folding one more time.
- Roll the dough one final time to about 1/2 and inch (1.5cm) thick.
- Using a 3.5 inch (9cm) cutter, cut out as many rounds as you can. Press the remaining dough into biscuit shapes as needed (I ended up with 3 hand formed ones today). They won’t be as pretty when they are cooked, but will still be very flaky.
- Place the rounds onto a baking sheet and rest in the fridge for 30 minutes while you preheat your oven.
- Preheat the oven to 450F/230C.
- When the oven is preheated, place your cast iron pan in the oven and heat until hot (5-10 minutes).
- Place the biscuits on the pan with sides touching each other and brush the tops with buttermilk or melted butter.
- Place in the oven and bake for 12-15 minutes until golden brown on the top.
- Let cool on the pan for 5 minutes before removing to either eat or cool completely on a rack.
Notes
- LEFTOVER BISCUITS KEEP NICELY IN THE FREEZER!

In a large bowl, whisk together flour, baking powder, baking soda, salt and sugar. Place bowl in freezer to chill while you prepare the butter.

Using the large holes of a box grater, grate the butter into a small bowl. Place in freezer until ready to use.

Remove flour mixture from freezer. With your fingers, work the lard or shortening into the flour until you have pieces that are no bigger than the size of a pea.

Gently stir the butter into the flour mixture with a fork then place in the freezer again for 10 minutes.

After mixing dough, transfer mixture to the floured counter and bring together with hands to form a cohesive ball.

Roll to an approximate 12×9 inch rectiangle.

Then fold into thirds like a business letter…

…Then fold in half again to form a square. Repeat this rolling and folding one time.

Roll out one more time to an approximate 1/2 inch thickness.

Using a 3.5 inch cutter, cut out as many circles as you can.

Press leftover scraps into biscuit shapes.

Put cut biscuits on a baking tray and chill in the fridge for 30 minutes while you preheat your oven.

You can see the layers of dough already!

Place chilled biscuits on a preheated cast iron pan or skillet. Make sure they are touching so that they get a better rise.

Brush the tops with buttermilk or melted butter. Ideally, do this before they go in the oven so you don’t let out heat, but I realized when I put them in the oven, I had forgotten to do this!

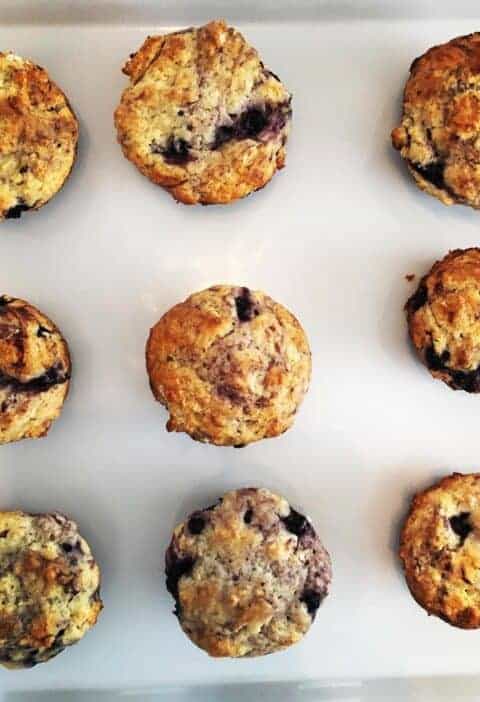
Finished biscuits.

Dough scrap biscuits are not as uniform and pretty, but look at those flakes!


Gonna try this recipe next time. Good hints! D
On Fri, May 15, 2020, 9:07 AM Margot Dreams of Baking, wrote:
> Margot Hamilton posted: ” Rich, tender and flaky buttermilk biscuits are a > staple in the Southern U.S. Many families have recipes that have been > passed down for generations. I may not be Southern, or even American, but I > have managed to master the art of making this style of bisc” >
[…] started out with my recipe for Rich and Flaky Buttermilk Biscuits. The orange bun recipe had more 3 Tbs sugar in the dough and used orange juice instead of […]